Your cart is currently empty!
Travel in a campervan: New Zealand tips and tricks
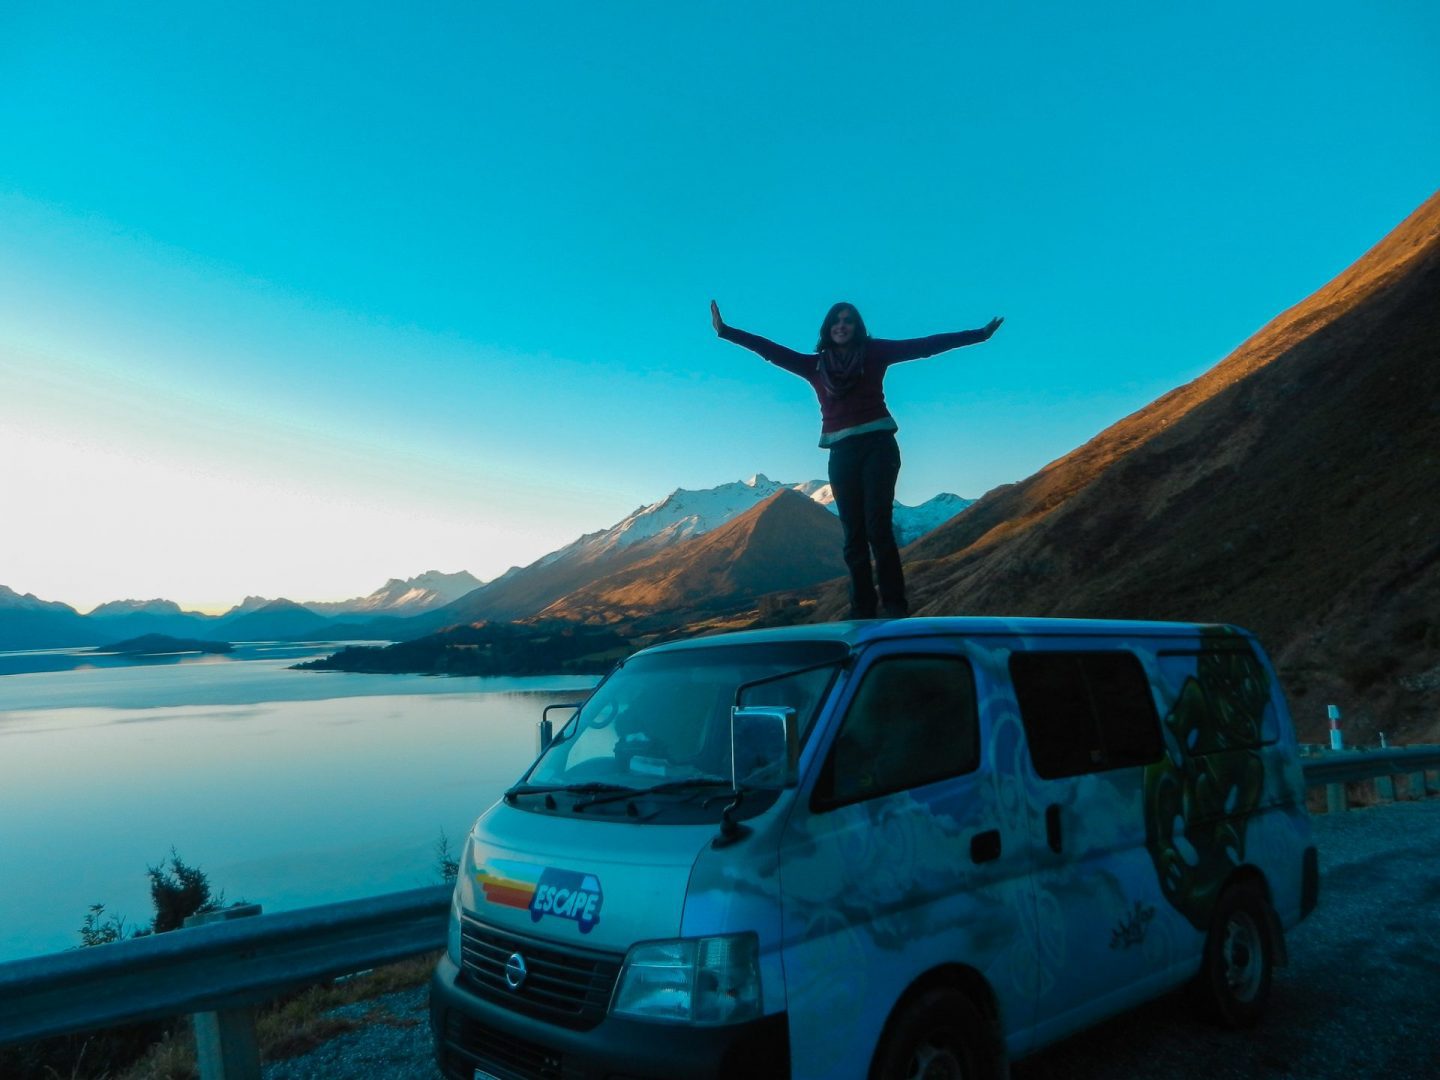
Join me for a collection of tips and tricks learned from my travel experience through New Zealand in a campervan.
Whether you are considering a journey abroad, you’ve booked your flights or you’re jetting off soon you will find some learned-from-experience tips I picked up as I travelled through the beautiful country of New Zealand. It has admittedly been a little while since I accomplished this feat – so things may have changed a little – but I booked my ticket and a few nights in a hostel in Auckland before I boarded my flight in Gatwick, London, and jetted off. I didn’t really think about it! Huge mistakes weren’t exactly made but I would look back through my time and plans things a little differently if I were to go again. I hope this blog helps if you are in a similar position!
My itinerary and best spots
Landing in Auckland I made the decision to hire a campervan. The plan and eventual journey took me from near the top to near the bottom of the country, including both islands. If you don’t know, New Zealand is split in two. The North Island is more mild-weathered and famed for volcanic activity and national parks. The South Island is more glacial and brimming full of mountains – the weather is also a little more extreme!
My entire journey took me about ten weeks, with about six weeks spent in the North and four in the South. This felt like a great amount of time, giving me flexibility and time to hit a lot of bucket list items. If you want to know how much you need I’d honestly say there’s never enough time! The South Island is a treasure though so I would recommend a little more time than I had there if you can.
North Island journey in a nutshell
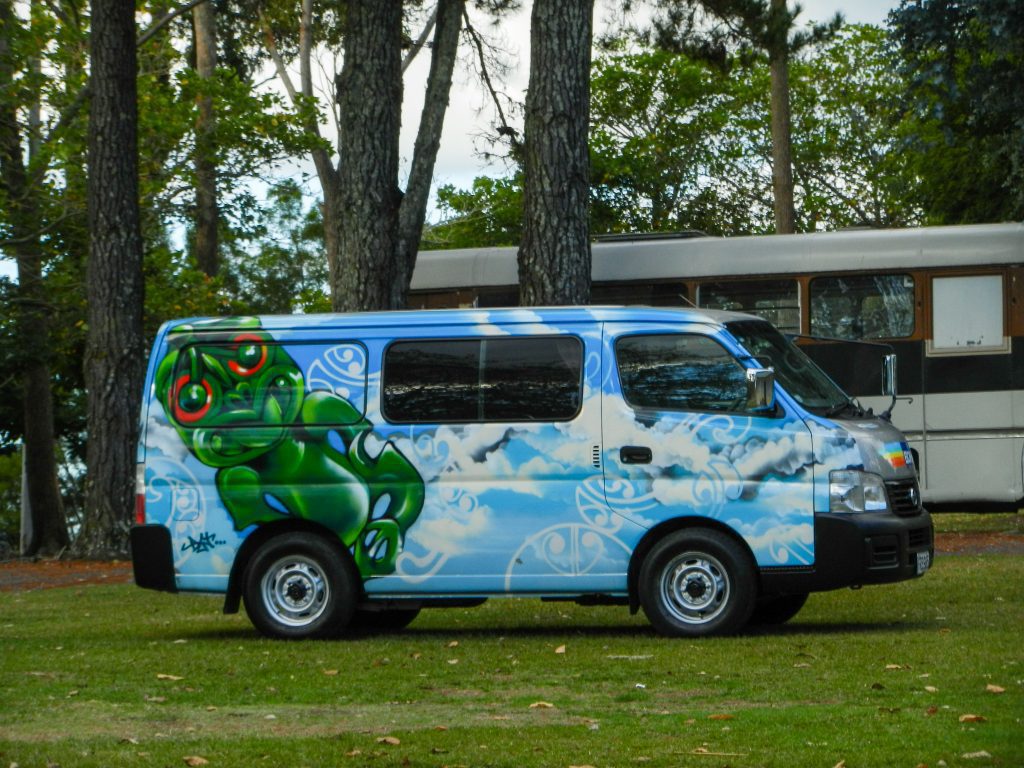
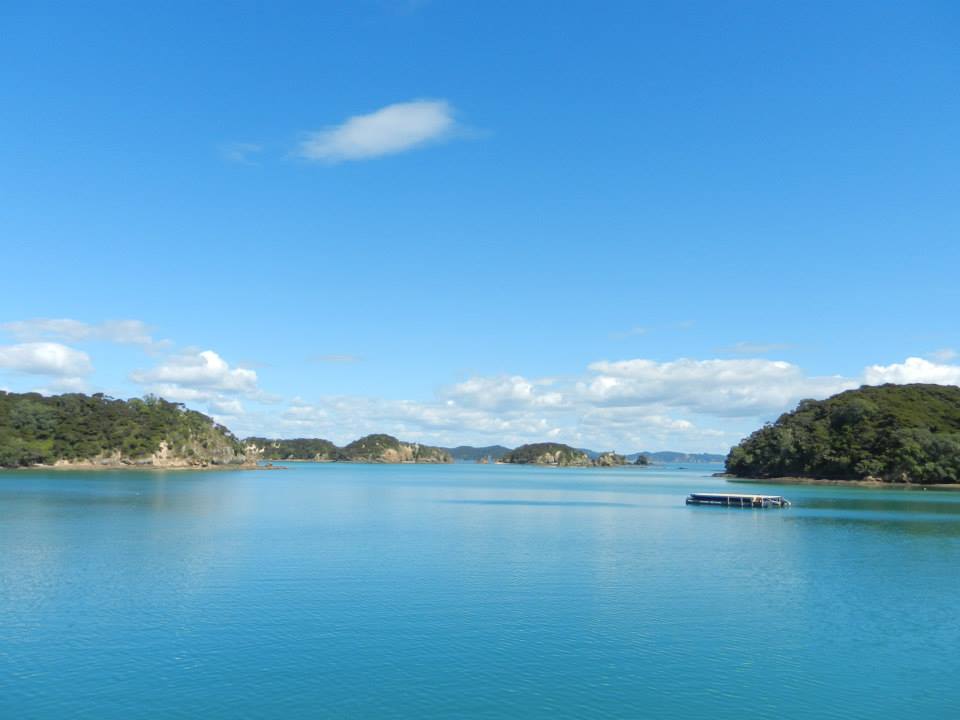
The journey began in Auckland where I picked up the van – AKA Tiki van – and traveled to the Bay of Islands, a place comprised of beautiful tropical islands. I made a trip from the town of Paihia down to the Bay of Plenty region. Here I stayed a while in the bigger towns of Tauranga and Maunganui as a kiwi-fruit picker – something I don’t recommend if you value your back!
My next stop was the Waikato region. I indulged in a love of Lords of the Rings by visiting Hobbiton and spent time learning about the local Maori culture. This is also a great place to sniff out – quite literally – some natural hot springs. My journey continued into the Wanganui region where I spent a lot of time hiking before jetting off to Wellington – the beautiful capital city.
My highlights
- The wildlife of the Bay of Islands – swimming with dolphins, kayaking to tiny islands, this place is paradise
- Hobbiton – it is a must see! Words cannot give justice to the fantasy magic of this Tolkien beauty
- Rotorua – This place is full of brilliant activities and also the biggest commercially rafted waterfall IN THE WORLD
- Lake Taupo hot springs – I’m a bit of a lizard and love basking, this was a great place for this
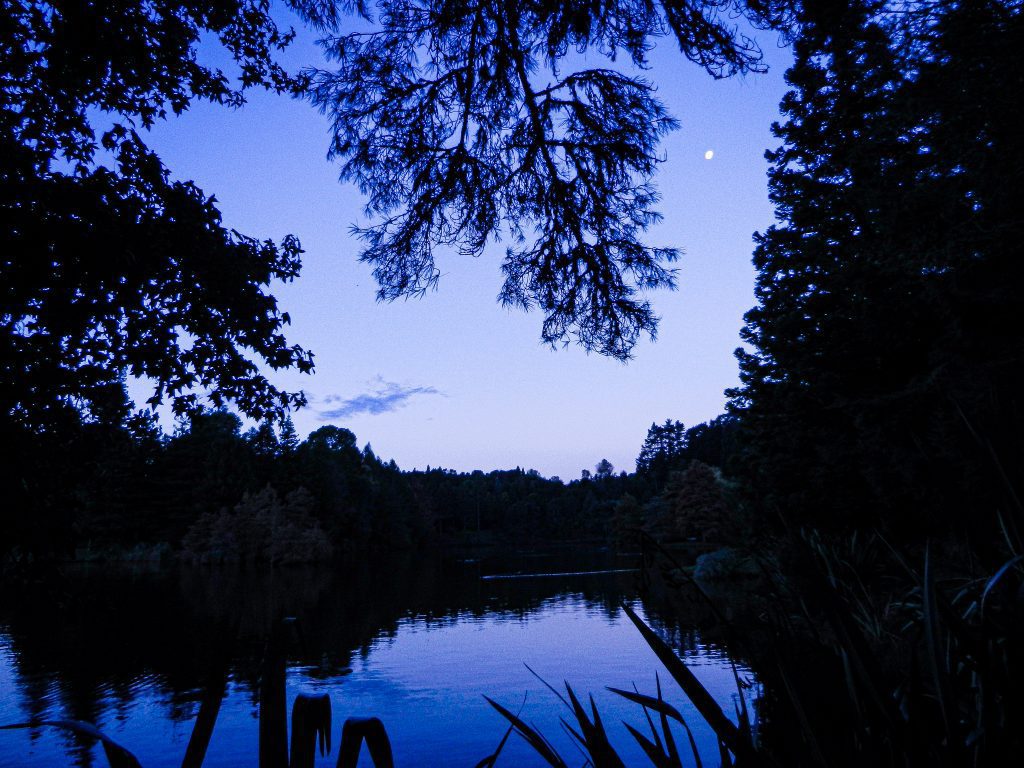
- Tongariro National Park – this place is stunning. You are surrounded by volcanoes, brightly coloured volcanic lakes and waterfalls. Need I say more?
South Island journey in a nutshell
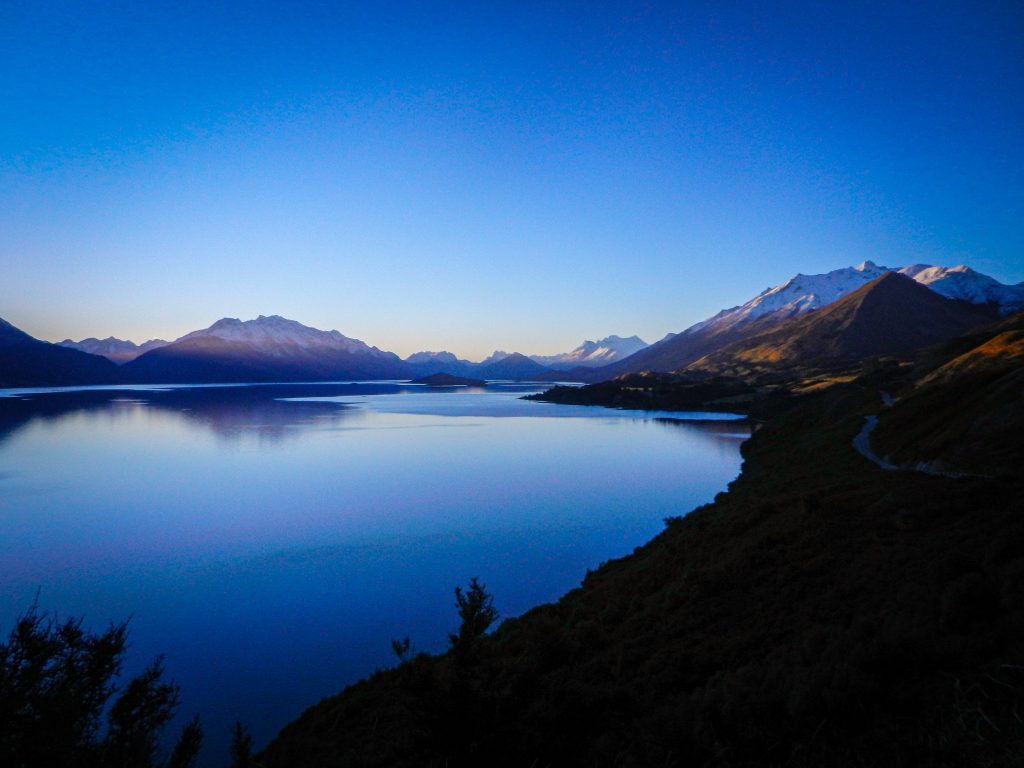
For the South Island you travel by ferry from Wellington into Picton. I began my Southern journey at Abel Tasman national park which I remember was very rainy and I did not stay long. Kaikoura was my next stop which is just a blue mountain paradise. I stayed a while here hoping to see some whales but the weather was not on my side.
From here I travelled through Hamner Springs and Arthur’s pass towards Mount Cook – New Zealand’s biggest mountain – and the glaciers. My tiki van and I then ventured to the town’s of Wanaka and Queenstown which are both mountainous beauties. Milford sound was calling my name here but I was unfortunate with the weather again and had to pass on this trip – it’s can be a dangerous journey and resources are limited. We moved onwards to Dunedin and up to Christchurch where I said my farewells the Tiki van and flew home to England.
My highlights
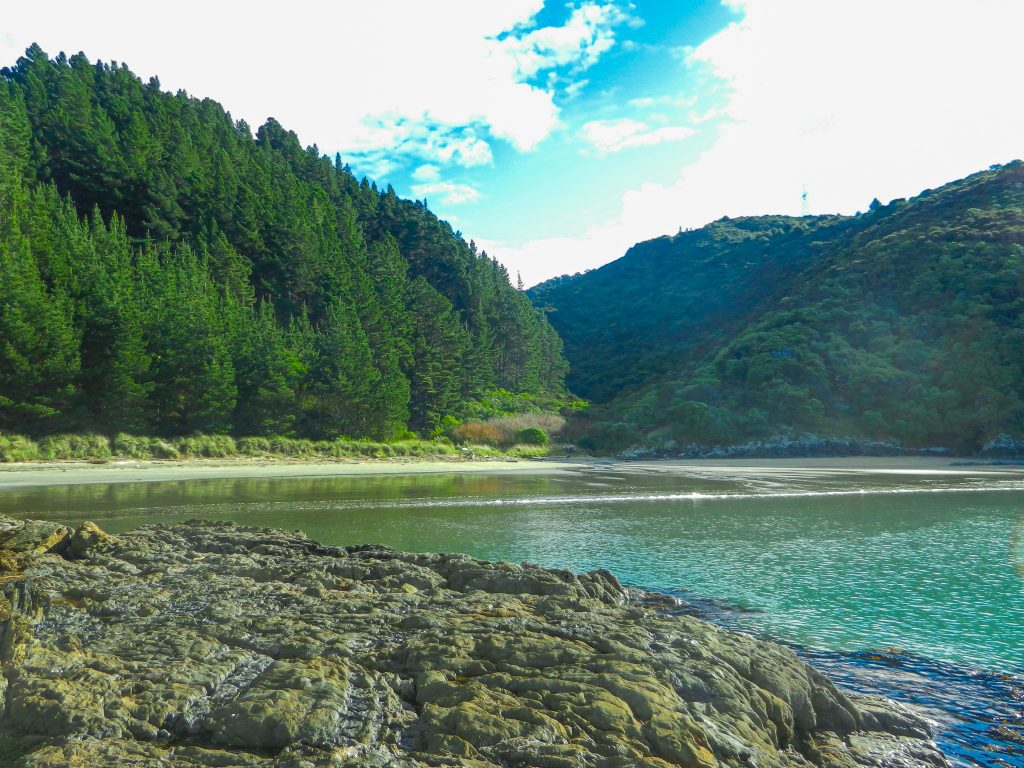
- White’s Bay campsite – I woke up here after a night time drive and the sea was beautiful. Perfect for swimming and nearby surfing
- Kaikoura – the seafood, the countless seals, the snow, it’s a must
- Arthur’s pass – there are a few passes through the South Island but this was is a must-see
- Fox and Franz Josef glaciers – it was terribly rainy during my stay here but it was still quite amazing. Lots of day trips and hiking options
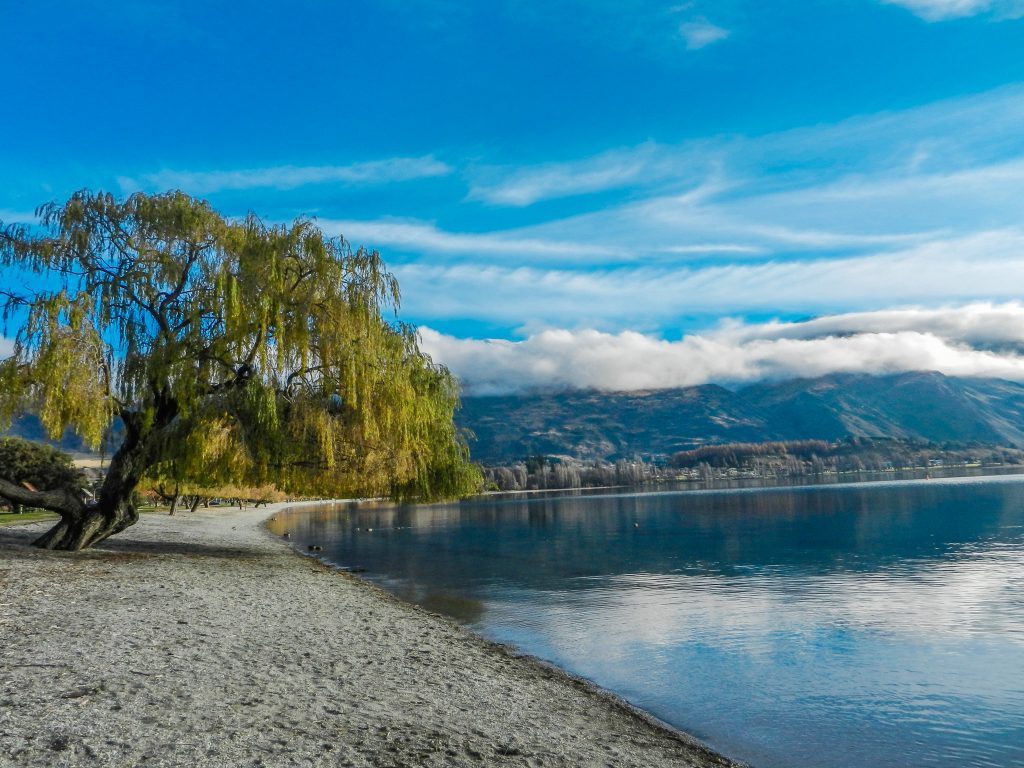
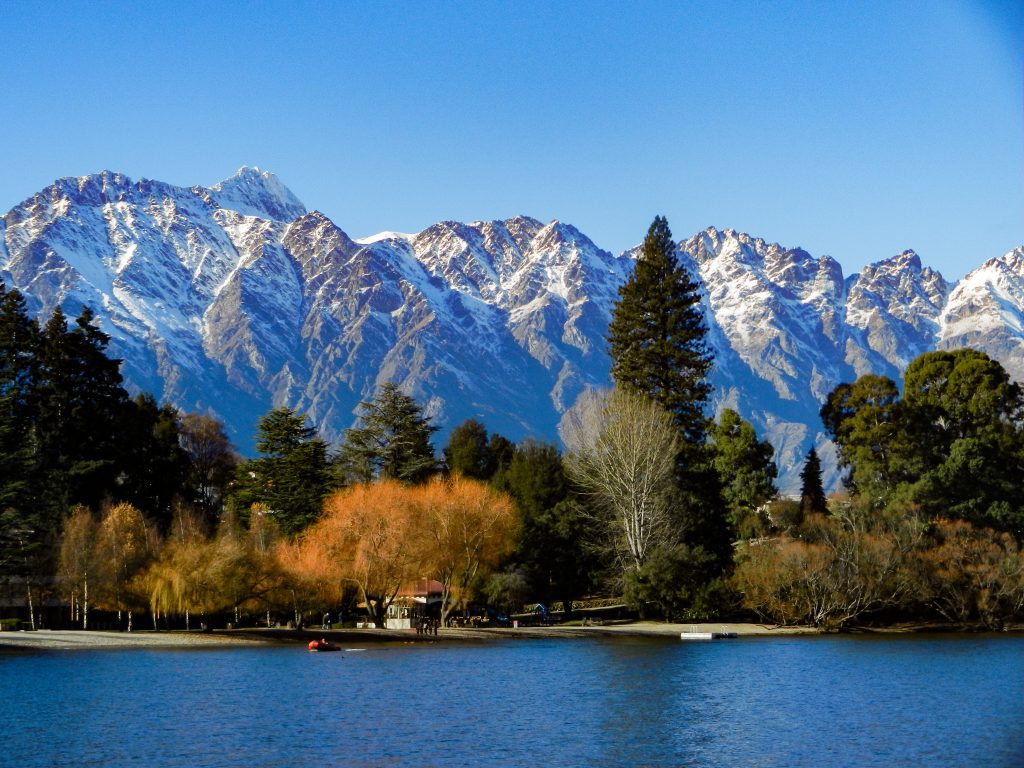
- Lake Wanaka – famed for the lonely willow that sits in the lake. An adventure wonderland with just endless activity options and beautiful mountains
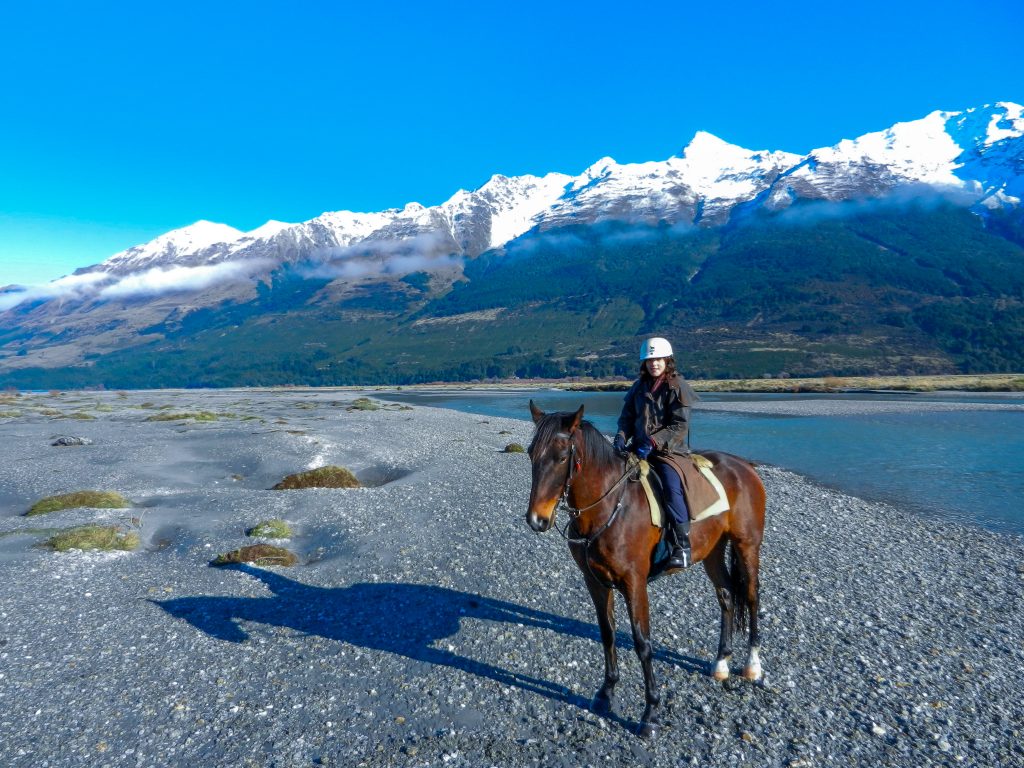
- Queenstown – another adventurer’s paradise. There is even a tiny town here literally named Paradise. Here I popped on a horse and went galloping around the mountain basin. This is an absolute must for any horse lover – and also film lovers as it’s a filming location for Prince Caspian!
Budget tips
- Route plan. You don’t need to be strict with it but think about the distance you want to travel and petrol prices. This will help give an idea of your budget and how far you can go
- Additional expenses like insurance add up, especially if you are under 25. New Zealand travel also includes ferry trips and toll roads so bear this in mind
- Check out campervan relocation options. This isn’t for a long-trip but if you want to go for a few days this is a great way of travelling on a budget
- Compare, compare compare. Campervanning is popular in New Zealand. Make sure you do your research.
Where to stay
Travelling by campervan can be a great budget friendly option. New Zealand has lots of paid and free camping sites with their own pros and cons. I experienced a real mixture and go through the pros and cons below.
Paid campsites
Of course the most expensive option when travelling so best kept to a minimum if you are sticking to a budget. However, this is a great opportunity to fill up your water, connect to power and use the facilities. These campsites are well equipped with hot showers, flushable toilets and often kitchens and recreation areas.
Free camping
New Zealand is full with free camping options – over 500 in fact! The biggest plus of these places is the cost – they are free. The condition is you camp responsibility. If you plan to use these sites be sure to leave only footprints and take everything with you. This helps to protect the ecosystem and allow free camping to remain available. Check out our blog of eco-conscious travel for more tips here. Also, as most of these sites are not often equipped with things such as showers or toilets you are required to be in a self-contained vehicle (make sure you check out beforehand).
DOC sites
These are a nice middle ground. Standing for Department of Conservation, these sites are low cost and with over 200 to choose from there are lots of options as you travel. The prices do vary quite a bit depending on location and facilities but you can usually expect toilets, rubbish collection and road access. There are often showers (though sometimes cold) and even things like picnic benches and outdoor BBQs.
My trip comprised of a combination of all of them. However, I was not in a self-contained vehicle so always made sure there were toilets available. I would recommend of combination to be budget friendly and also have a touch of luxury. As an extra tip, the free and DOC sites are also immeasurable in their beauty, sitting often by beaches, lakes or mountains. The star-gazing opportunities are unbelievable.
My Top Tips
- Be part of the community: New Zealand is a welcoming community as is the van/ camping collective. Share lifts with your neighbours, share fridge space, eat dinner together
- Plan your arrival times: The free and DOC sites have limited spaces. I found arriving early was often best to secure a place. I did often arrive in the dark of night and wake-up to some really unexpected views though so definitely do this at least once
- Pack a head torch: Honestly, New Zealand is dark. You do not want to be fumbling around a dark toilet late at night by yourself
- Bring lots of layers and waterproofs: The weather can be temperamental, especially in the South, so be prepared for rain and cold nights
- Check the weather: I travelled through March, April and May which was lovely. If you want warm sunshine go before this but remember it will be busy and more expensive. New Zealand winter is June – August. It is very cold and snow can interrupt travel so bare this in mind if you plan to go during this time. It’s great for skiing though!
- Fill up on petrol: Especially in the South there are stretches of road without any facilities for about 100km. Make sure you check ahead and fill up your tank before setting off on long journeys
- Download apps: There are some amazing apps out there from offline map options to splitting bills with friends
- Bring a map: My phone actually broke when I still had about a month to go. Be prepared to travel without the internet
- Be mindful of time: Especially with the weather changes it is helpful to be flexible with your plans to allow you to achieve your travel goals
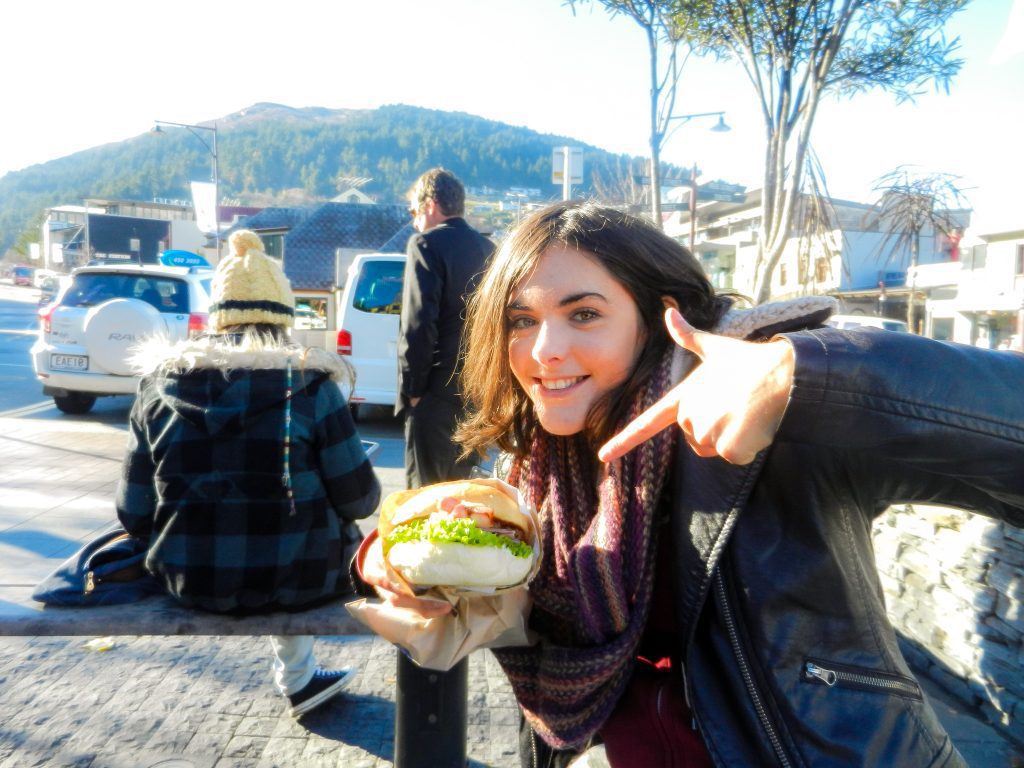
- Check out the local food: New Zealand lamb and wine are both great choices and I devoured my famous Fergburger in Queenstown – it was delicious
- Drive on the left!
To sum up
Hopefully, you’ll have the most epic adventure whenever and however you plan to travel around. New Zealand was such a grand adventure for me and I would go and do it all again in a heartbeat. I hope you have the best time and hope these top tips help along the way! Let us know how you find this article below. Please add any top tips or adventure stories of your own as we would love to hear them!
Leave a Reply